How To: Install TWRP Recovery on Your Samsung Galaxy Note 3 (Sprint or T-Mobile)
As we near the one-year anniversary of its release (and the inevitable unveiling of its successor), the Samsung Galaxy Note 3 remains a device that packs quite a punch when it comes to hardware. It boasts a 2.3Ghz CPU and was the first mobile phone ever to house 3GBs of RAM. Suffice it to say, it can handle any software you throw at it with no discernible lag. Even Samsung's notoriously bloated TouchWiz ROM seems lightning fast.It's almost scary to think how well this device could handle an even leaner, AOSP-based ROM, like CyanogenMod or ParanoidAndroid. When opting for AOSP ROMs over TouchWiz, people often report better battery life and faster speeds. It makes sense because of the less taxing software, but why take their word for it?Installing a custom ROM onto your Note 3 may sound scary, but it's all made simple with a piece of software called a recovery, which you can have installed in minutes. Please enable JavaScript to watch this video.
PrerequisitesThis tutorial is geared for the Sprint and T-Mobile variants of the Samsung Galaxy Note 3. If you have AT&T or Verizon, you have a locked bootloader and cannot proceed with this guide. You can, however, check out our guide how to install the Safestrap custom recovery on your Note 3.You'll also need to be rooted, which is now easier than ever, thanks to Towelroot.
Step 1: Download & Install "TWRP Manager"Jmz Software brings us the easiest way to install a custom recovery. TWRP Manager (ROOT) will allow you to install TWRP onto your phone in mere minutes, so grab it from Google Play to get started. Team Win Recovery Project (also known as TWRP) is the recovery of choice for most Android modders. It's fast, stable, and has an easy-to-use touch interface. Thanks to Team Win, you'll be installing new ROMs and creating full backups in no time!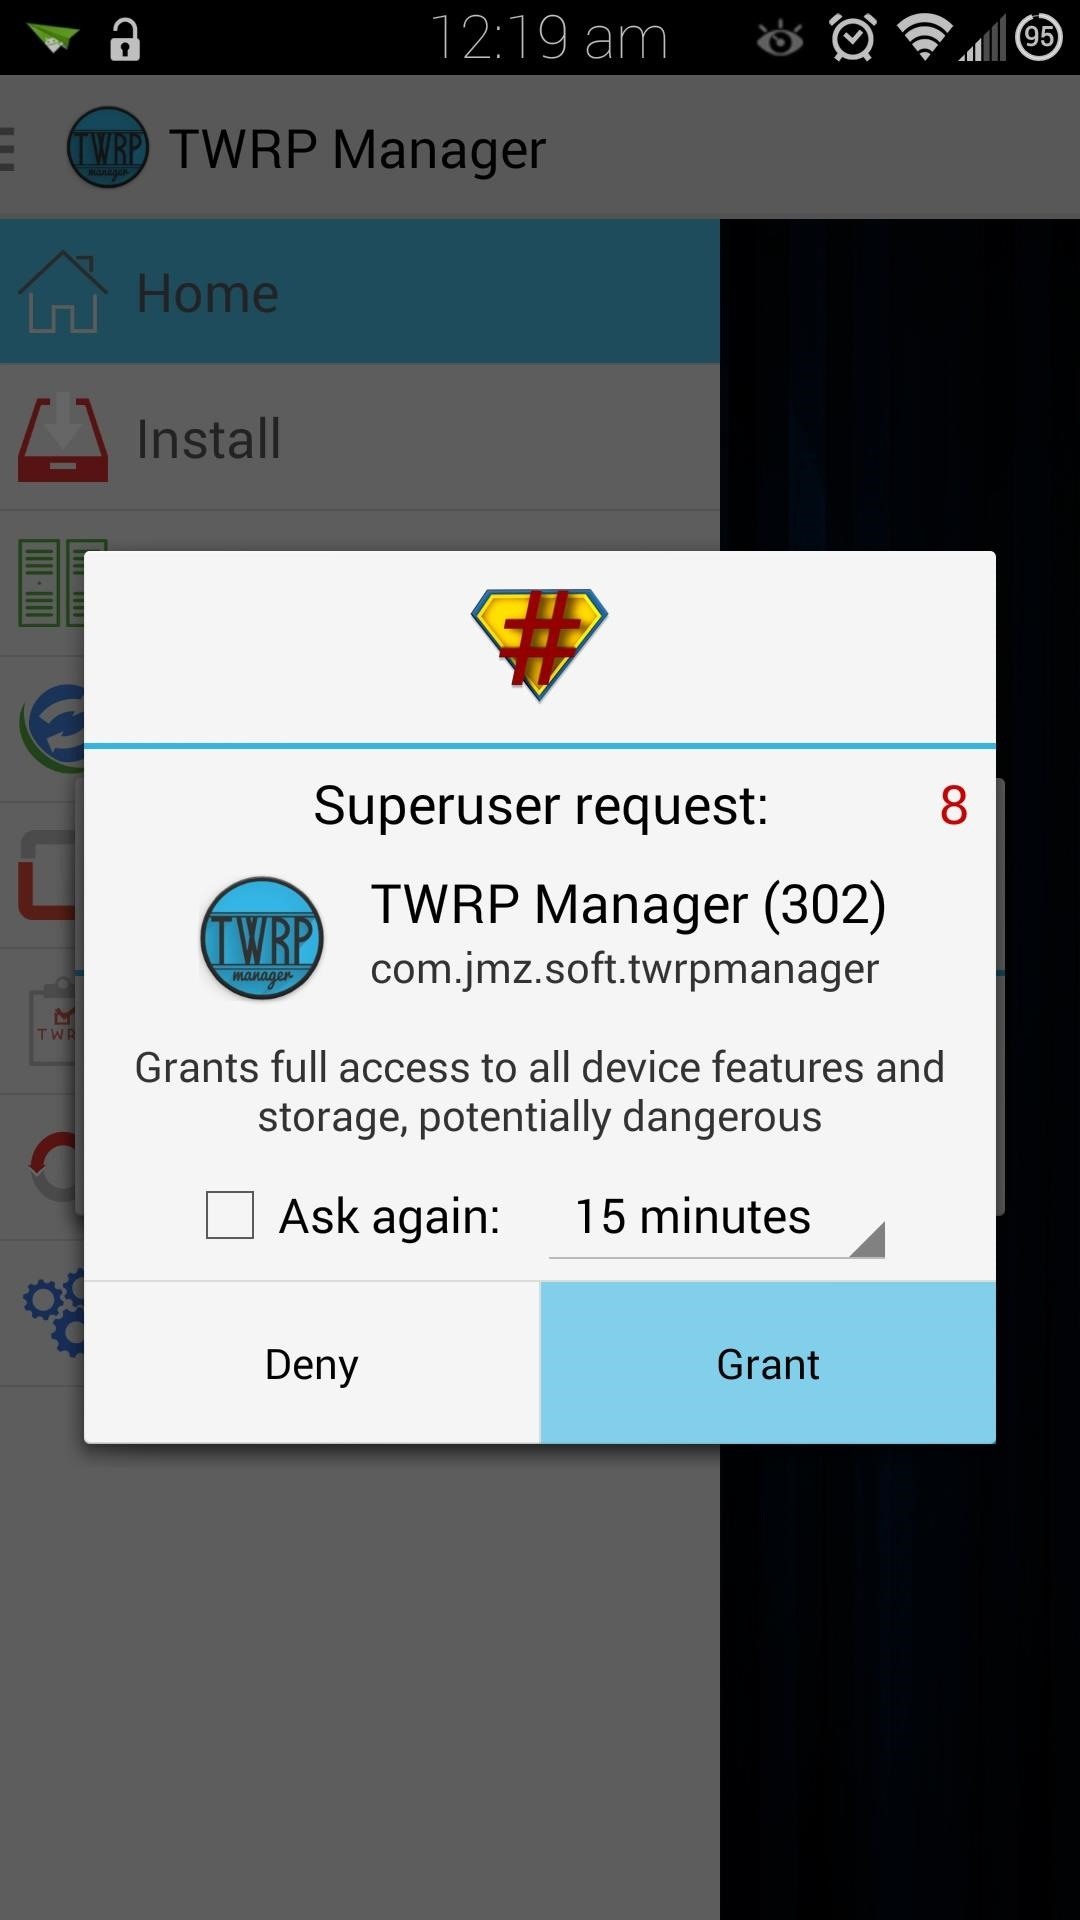
Step 2: Use TWRP Manager to Install a RecoveryOpen up TWRP Manager and grant it superuser access, then tap on Install TWRP from the left-hand menu. You'll need to select the correct, carrier-specific version of TWRP to install, so tap on Device Name. If you have the Sprint variant of the Note 3, then select hltespr. If you're on T-Mobile, select hltetmo. Now tap on Install Recovery, which will start downloading the .img file. You may get a warning asking you to verify what partition the recovery should be installed on. The partition listed should look like this:/dev/block/platform/msm_sdcc.1/by-name/recoveryConfirm by tapping Yes at the popup. It should take just a few seconds, then you'll officially have a custom recovery!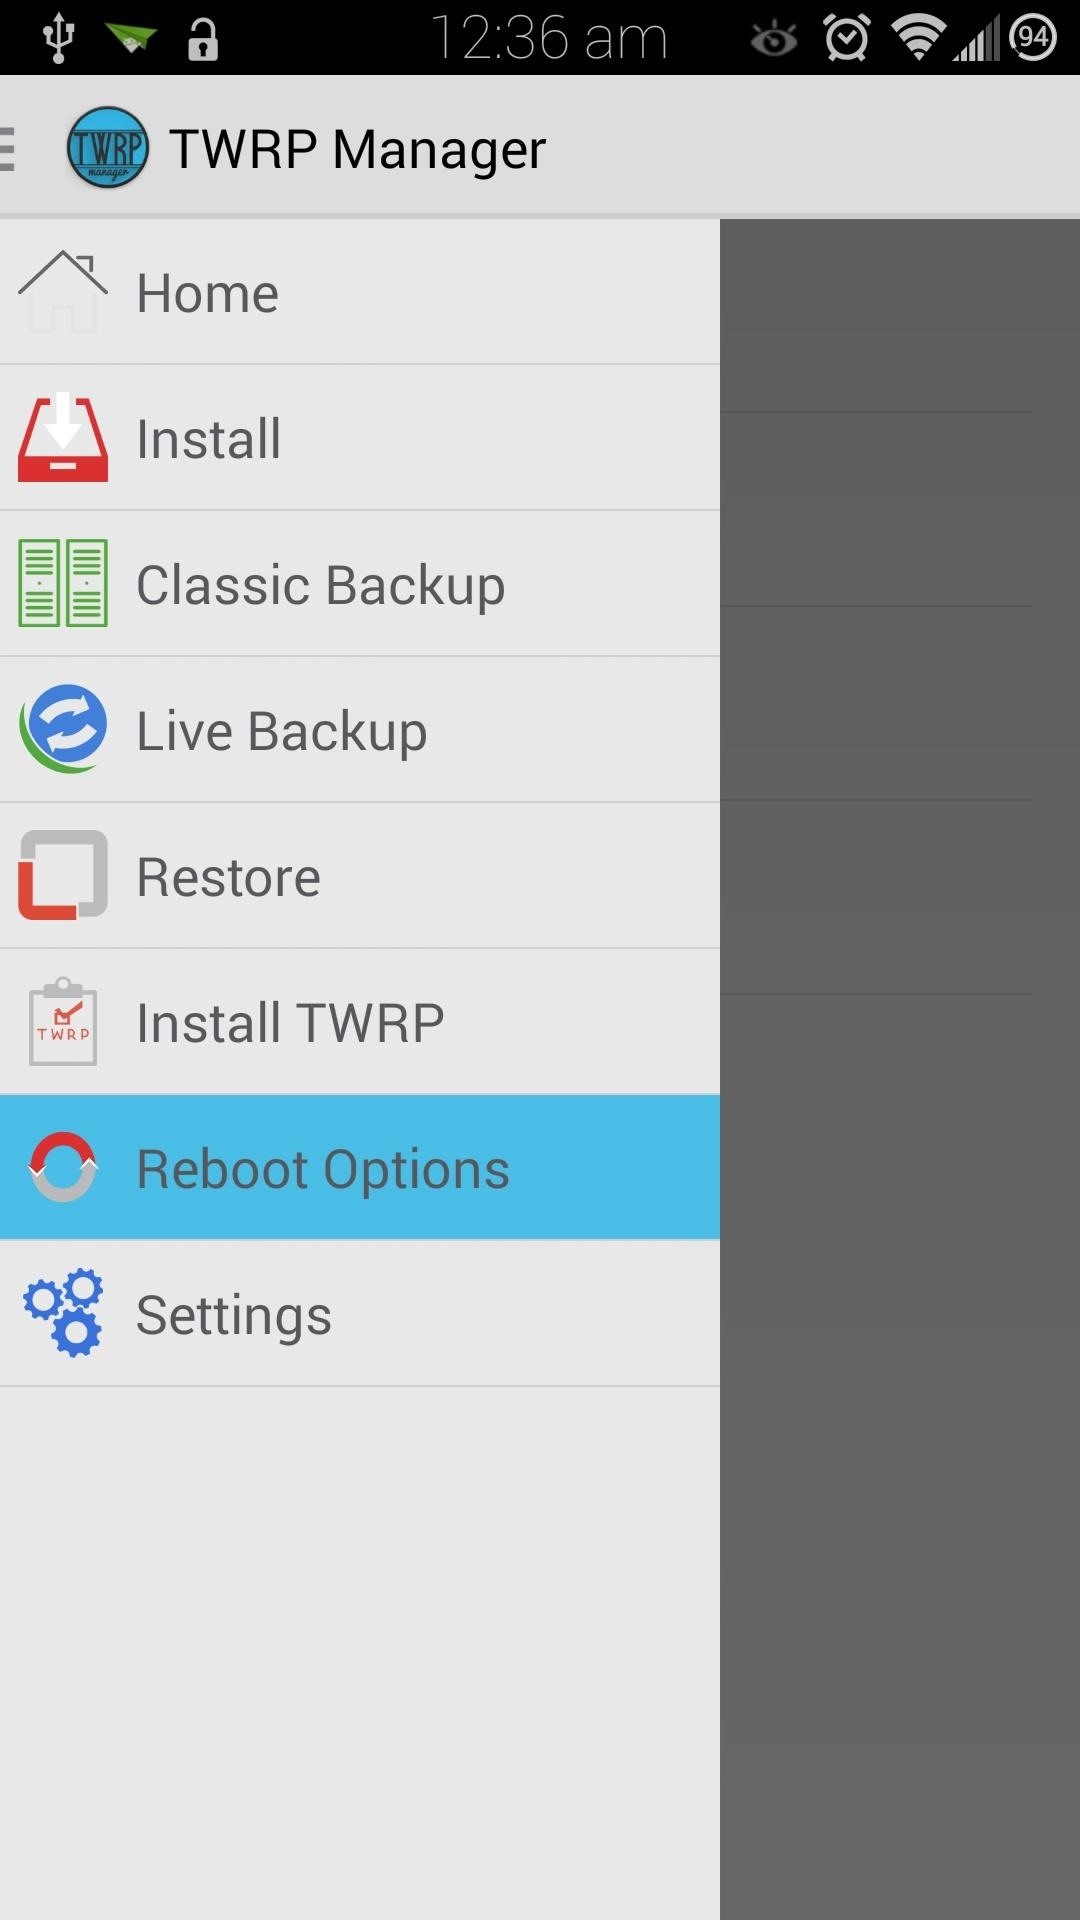
Step 3: Boot into Your New RecoveryThere are several ways to boot into recovery. First, from TWRP Manager, you can select Reboot Options from the menu, then tap on Reboot to Recovery. Alternatively, you can power off your device, then power it back on by holding the Power, Home, and Volume Up keys simultaneously. As soon as you see the words Recovery booting in blue, let go of those three buttons.You can also use an app called Quick Boot to add this option to your device—check out "Option #3" is Dallas' guide here.
Using TWRP to Flash Custom ROMsNow that you have a custom recovery on your Note 3, you have the power to flash custom ROMs, such as CyanogenMod. Before you get into ROM-flashing, though, you'll need to get into the habit of doing a few things.
Step 1: Create (And Restore) Nandroid BackupsJust in case something goes wrong, like a bad .zip file getting flashed, or you simply don't like the ROM you installed, you'll need a proper backup to revert to. You can create a full nandroid backup by tapping on Backup. A nandroid is a complete snapshot of everything on your device; the current ROM, your apps, music, text messages, you name it. Not a single byte is left out. (1) Choose "Backup" from main menu, (2) Swipe to Confirm Backup, (3) Nandroid being created Make sure the boxes next to Boot, System, and Data are all checked. Then slide the Swipe to Back Up button over to the right to make your first nandroid.If you ever need to restore it, tap on the Restore button from the main menu. Find your backup (stored on your external SD card), then slide the Swipe to Restore button over to begin restoring it.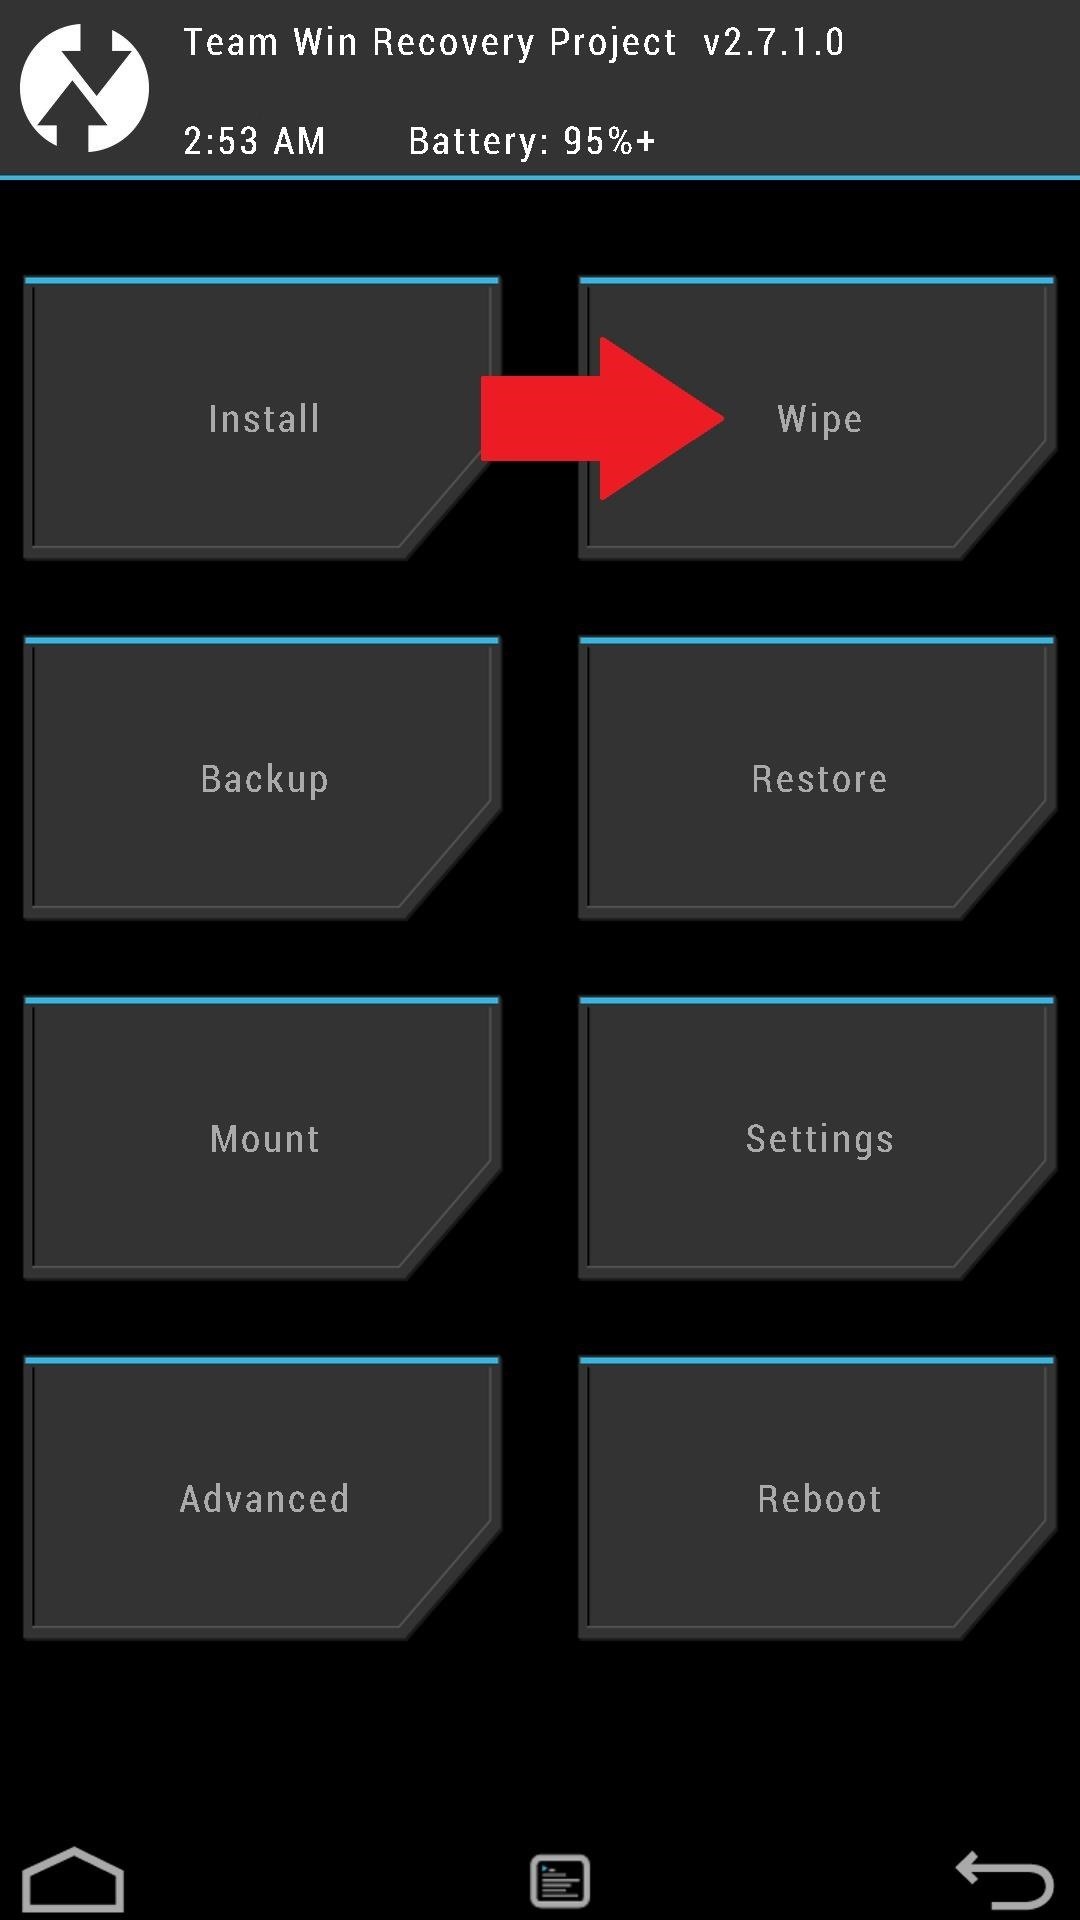
Step 2: Wipe Data to Prepare for a New ROMBefore installing a new ROM, you'll need a clean slate to work with. The Wipe option helps you achieve that by clearing out the necessary partitions on your device. A "Factory Reset" is the standard type of wipe, and is typically all that's needed to prepare for a new ROM. Once you've made a backup and have a custom ROM .zip file on your SD card, you can use the Swipe to Factory Reset button to begin the wipe.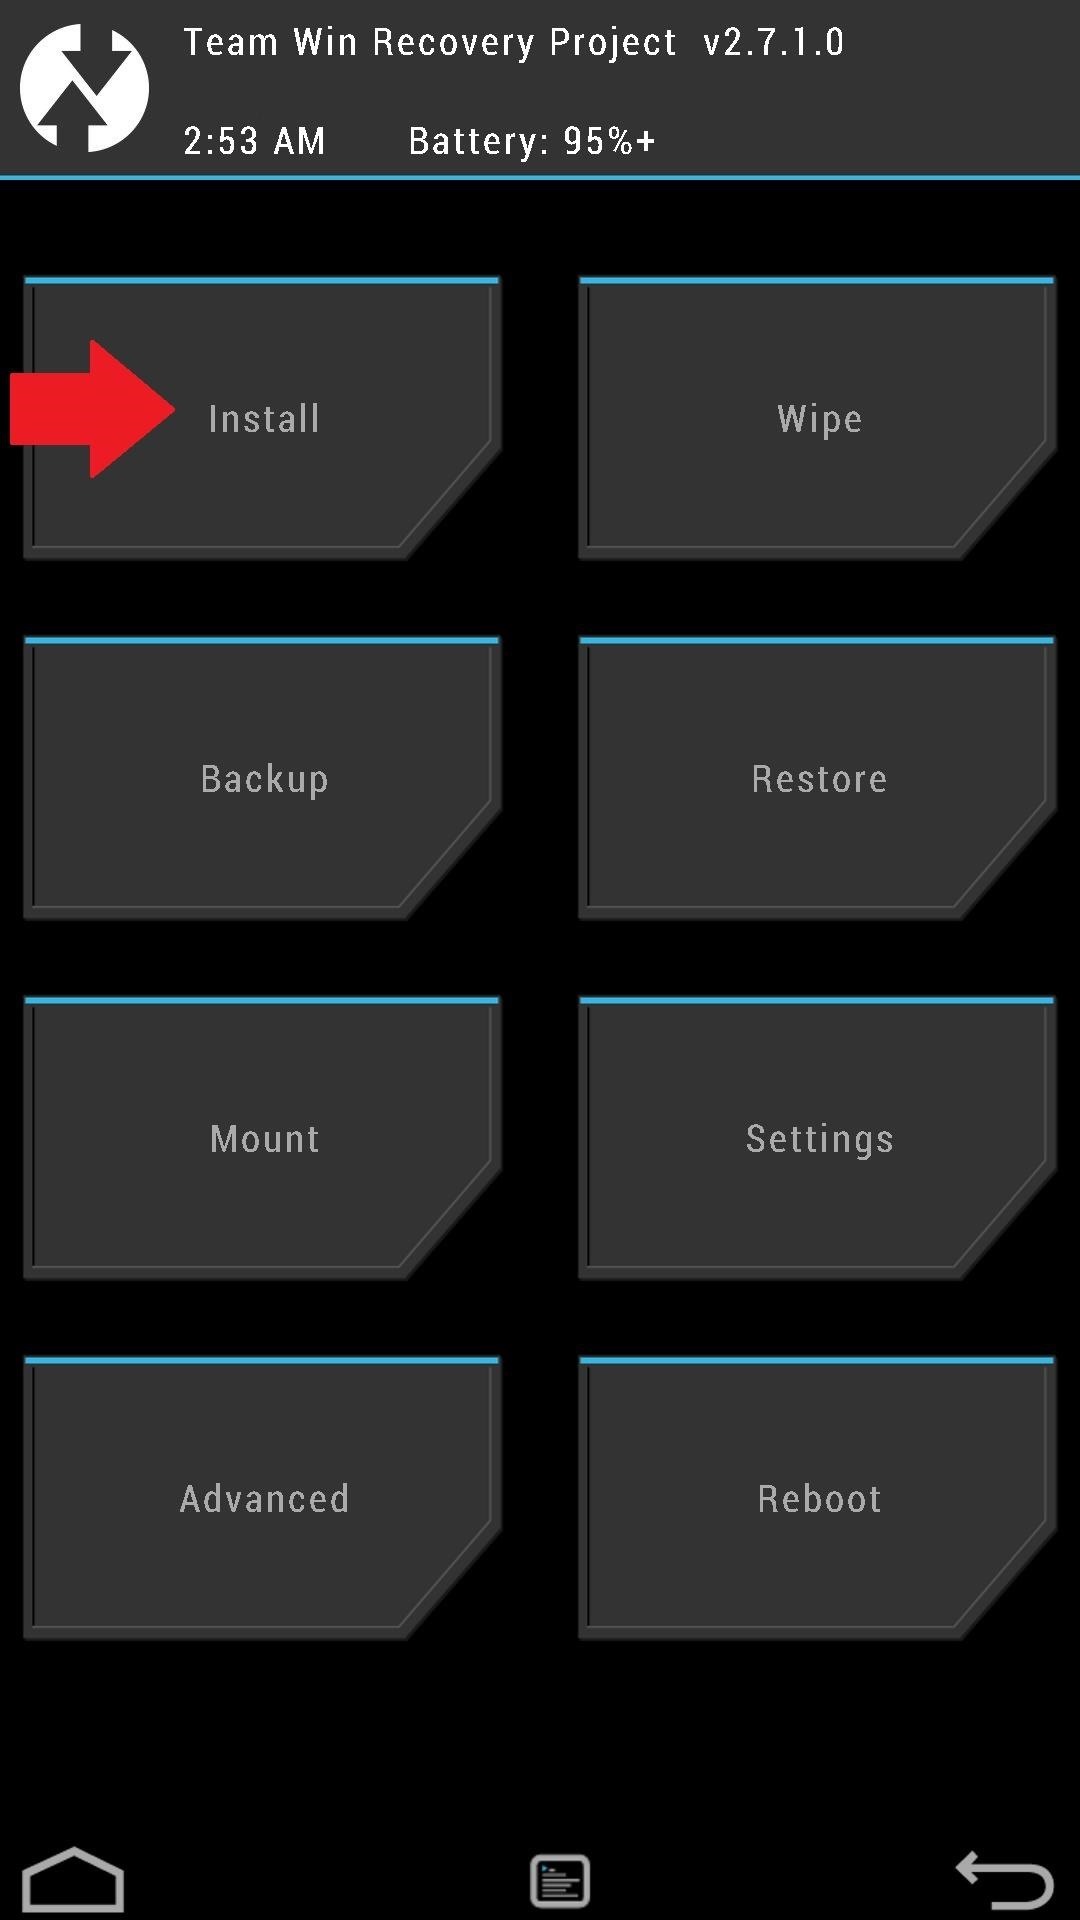
Step 3: Installing ROMs or ModsMake sure to choose a ROM that's specific to your carrier and device, otherwise you risk bricking it. The XDA forums are a great source for finding ROMs to play around with, so here are some links to get started.ROMs for the Sprint Galaxy Note 3 ROMs for the T-Mobile Galaxy Note 3 ROMs or mods will come in .zip files, and can be flashed onto your device by tapping Install from the TWRP main menu. You can install them from your internal or external SD card (just tap on Storage to navigate between the two). Tap on the .zip file you want to install, then use the Swipe to Confirm Flash button.Flashing ROMs isn't so scary, right? To get yourself even more acquainted with TWRP, check out Dallas's in-depth guide.What ROMs have you tried out? CyanogenMod? ParanoidAndroid? AOKP? Let us know in the comments how they've worked out for you.
Once you've enabled adaptive icons, you're now ready to add the new adaptive folders feature. To enable adaptive icons, head to Action Launcher's settings again, tap on "Folders and Shutters," then select "Style," and choose Adaptive. There is also an option to choose adaptive folders with only the outline shown.
Action Launcher 101: How to Set Up Covers & Shutters to Get
If you have the Rooted Samsung device or running the custom on your phone and want to unroot/restore stock rom on your device. Here is the easy guide to go back on stock rom. Rooting has lots of benefits which you can enjoy on your device, you can enjoy custom roms and other tweaks, but this will void the warranty of your device. To get back
How to Unroot and Restore Stock Firmware for Samsung Galaxy S4
To access your notifications panel, swipe down from the top of your Samsung Galaxy S5's screen with one finger. Using two fingers will access the Quick Settings bar on your Galaxy S5, where you can quickly turn on and off various features. Using just one finger, on the other hand, will open up your notifications panel.
Remove S Finder & Quick Connect - Samsung Galaxy S6
News: BlackBerry Unveils the KeyOne—A New Security-Focused Phone with a Physical Keyboard News: The Latest Razer Phone 2 Leaks Suggest Project Linda Might Actually Happen Cheap Mods: Turn Your Phone into a Boombox with a Few Household Items
How to Record Your Screen on Pc 2018 « How to Videos
If you just purchased a new smartphone, it's always a good idea to transfer your data from your old device as soon as possible. If you are not sure how to back up and transfer photos, messages or
How to Transfer Data from Android to Android- Top 4 ways to
How To: 3 Ways to Get More Out of Your OnePlus One's Camera News: After Leaks, OnePlus Puts It All Out There with OnePlus 5 Photo How To: 5 Tips for Recording Better Videos with the OnePlus Camera App News: The OnePlus 6T — a Few Additions and 1 Major Subtraction
The Best Way to Record Calls on Your OnePlus 3 or 3T
How to solder a quarter-inch connector to an instrument cable; get expert tips and advice from an expert on how to solder electronic equipment in this free instructional video. Expert: Jeff Naylor
How to Solder : Soldering with Instrument Cable Wire | Weller
The Flashlight That Finally Lets You - Samsung Galaxy Note 2
Portrait Mode is an arty photo format that first arrived with the iPhone 7 Plus. It uses the twin-lens camera that's present on the back of some iPhones to create an artistic depth effect, whereby
Portrait Mode: The Complete Guide To Portrait Mode On iPhone
iPhone Dev Team has released the latest version of its jailbreaking tool, Pwnage Tool 4.2. If you ask us, there is want to jailbreak iPhone or any iOS device, then there is not better tool than Pwnage as it offers you with a chance to restore back the iOS. Here is a complete tutorial to jailbreak iPhone 4 iOS 4.2.1 using PwnageTool 4.2 on Mac.
Jailbreak iPhone 3GS on iOS 4.1 with PwnageTool [How to Guide
Please Visit My New Channel "Reality How To TV" How To Bose Sound Dock Line In Audio Hack-Modification for Android Phone or Tablet or iphone 5 while keeping ipod usability and charging functionality.
Can you convert an iPod dock to aux 3.5 stereo??? PLEASE HELP
There is now an internal to external SD swap method for the international Samsung Galaxy Note II and the US variants as well. XDA Senior Member mattiadj released the mod for the Galaxy Note II.
How to Change Storage Location To Internal Memory or SD Card
How To: Enhance the Music Listening Experience on Your Nexus 7 Tablet How To: Make LEDs Dance to Techno Music How To: Control Music Using the Power & Volume Keys When Your Nexus 7's Screen Is Off How To: Make Trippy EL Wire Headphones That Dance to the Beat of Your Music
Light Up Your Next Party with This DIY LED Beer Pong Table
0 comments:
Post a Comment