How To: Root the Samsung Galaxy S6 & S6 Edge
Thanks to leaks and hard working developers, rooting tools for brand new Android devices are usually available right around the time of the smartphone's release, if not earlier. The Samsung Galaxy S6 and S6 Edge are no exception.CF Auto Root, by renowned dev Chainfire, has now been updated to root many variants of the Galaxy S6 and Galaxy S6 Edge. Using Odin on your Windows computer, you can easily root your S6 all in under a minute.
Don't Miss: Fix Deep Sleep Issues After Rooting the Galaxy S6 Don't Miss: How to Install a Custom Recovery on a Galaxy S6
Warning: Proceed at Your Own RiskTake note that this guide is currently for devices running Android 5.0.2. While most S6s haven't yet been updated to Android 5.1.1, if yours has, please wait until we've updated the article to include the appropriate root files for that version of Lollipop.Rooting your S6 with this method will trip Samsung's KNOX counter, which will void your warranty. I repeat, this rooting process will voice your warranty.Additionally, having a tripped KNOX will more than likely disable Samsung Pay when it's released later this year. This isn't 100% known yet, but it is the likely scenario.While there may be a way to mask the KNOX counter in the future, we wouldn't count on it. When KNOX is tripped, a physical fuse that resides inside your device is blown. While this doesn't cause any damage to your device, it is an irreversible way to identify a modified system.While using Odin with CF Auto Root has been a tried-and-true method for rooting Samsung devices, among others, it doesn't mean it's the only method that can grant root-level access. So, if you'd rather not trip KNOX, it may be worth waiting for an alternative.But, as long as you understand all this, proceed ahead... this is going to be easy.
Step 1: Install the Samsung DriversBefore you connect your S6 to your Windows computer, make sure that you have the appropriate Samsung drivers installed.Samsung USB drivers
Step 2: Extract the MD5 File & OdinYou'll also have to download a root package onto your computer, which will come with both Odin3 and an MD5 file; the former will differ depending on your device and carrier. Check out the links below for both the Galaxy S6 and the S6 Edge:
Galaxy S6:T-Mobile (SM-G920T) root package International variant (SM-G920F) root package Latin American, Singapore, India, and Australia variant (SM-G920I) root package Hong Kong variant (SM-9200) root package Sprint users can use the T-Mobile root package
Galaxy S6 Edge:Sprint (SM-G925P) root package T-Mobile (SM-G925T) root package International variant (SM-G925F) root package Chinese variant (SM-G9250) root package Extract the files from the ZIP and place both Odin3 and the MD5 file on your desktop to makes things easier.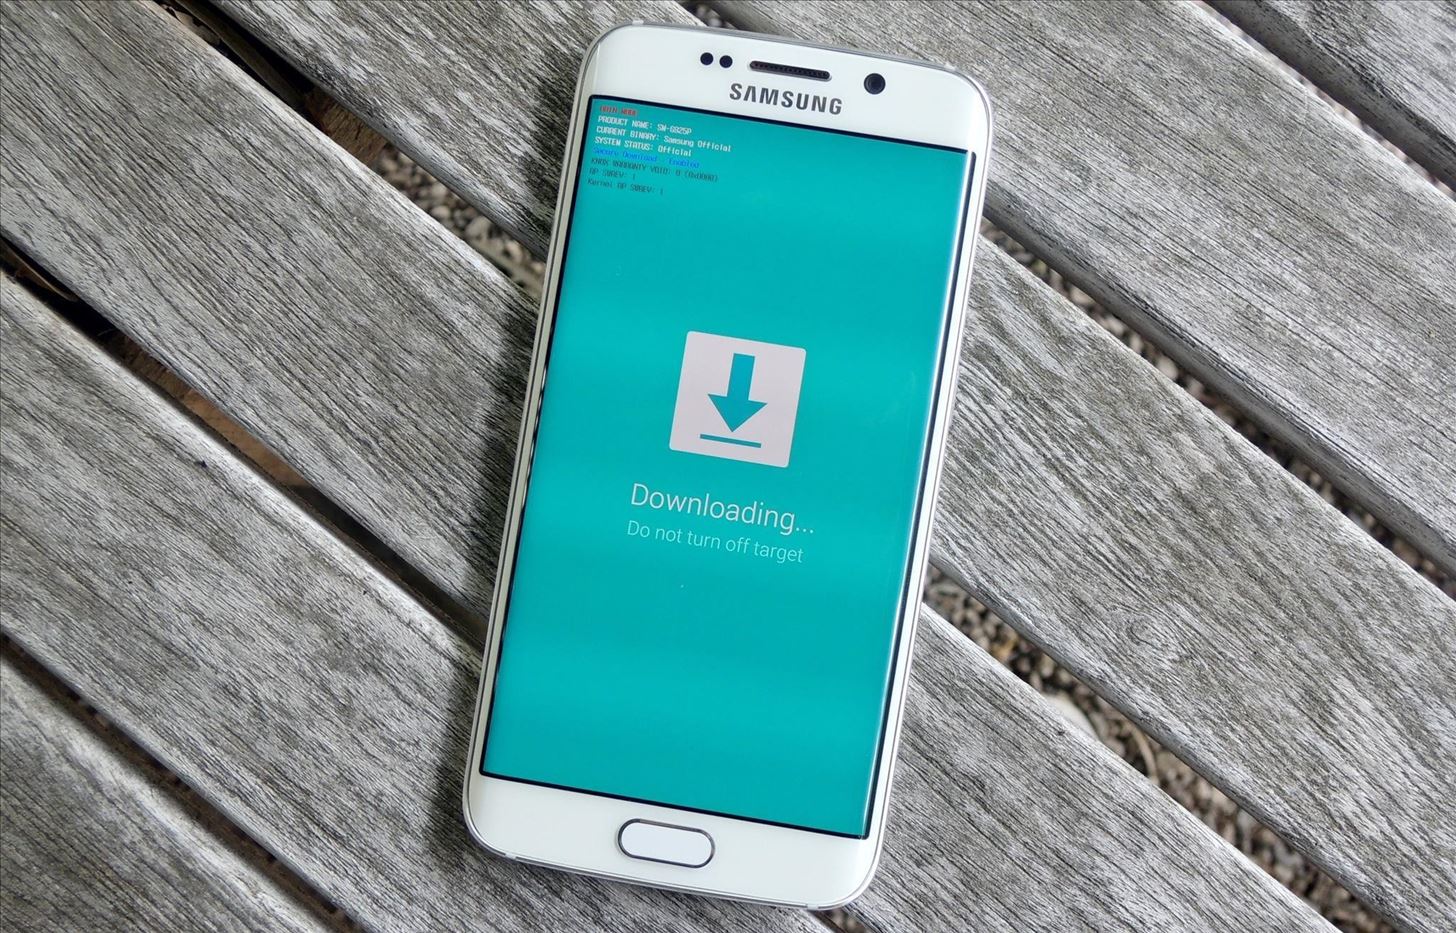
Step 3: Put the Galaxy S6 into Download ModeHead over to your Galaxy S6 now and turn it off. Once it's fully shut down, boot up into Download Mode by holding down Home + Power + Volume Down buttons at the same time for just a few seconds.Your display will show a blue screen with a warning sign at the top—proceed to Download Mode by hitting the Volume Up key.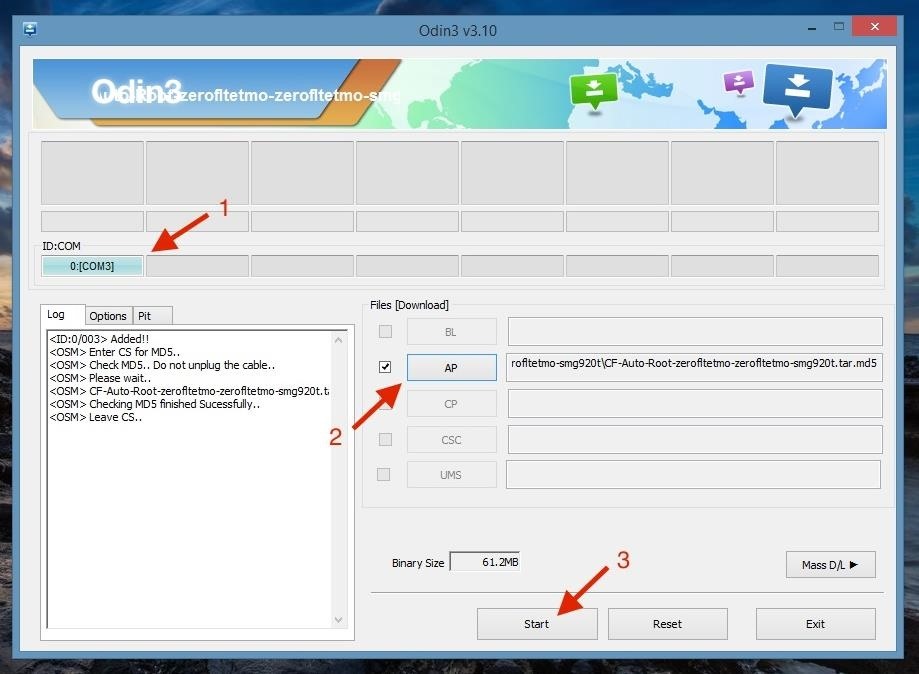
Step 4: Root the S6 Using OdinNow that your S6 is ready, launch Odin (right-click and select "Run as administrator"), then connect your S6 to your computer via USB. Also, be sure that you've enabled USB debugging on your phone.In Odin, make sure that the box under ID:COM is blue (1), which means your device has been recognized. If not, try re-connecting your device. Once you're sure it's connected properly, click on the AP button (2) and choose the MD5 file you extracted earlier (which should be on your desktop). Finally, just hit Start (3) to begin the process. In short order, if everything went according to plan, your device will reboot automatically and you can disconnect it from your computer.Your Galaxy S6 or Galaxy S6 Edge will now be rooted! Verify root access by using an app like Root Checker. In case you run into any problems, leave us a comment below and we'll try and help you out with the process.Follow Android Hacks on Facebook and Twitter, or Gadget Hacks over on Facebook, Google+, and Twitter, for more Android news, apps, and tips.
For example, if the initial test displayed a discharge rate of -200 mA, add 200 mA to the measurement you receive for your charger and compare the total to your charger's listed output. Fluctuation of ~100 mA is to be expected, but anything past that could mean you have a faulty charger or cable.
How to Find if your Mobile Charger is Faulty or Slow
Need to use up vinegar? Here is an interesting way to convert your standard vinegar into a working battery. Learn the technique to create an alternative source of energy using vinegar. Make a vinegar battery.
Vinegar battery from copper wire & nails | DIY electricity!
Out of the several reasons, why you wish to see someone's location on your iPhone is to ensure that your dear ones are safe. The best example is the situation where parents can keep track of their children. At the same time, children can keep track of their parents too! You can learn how to find someone's location on iPhone using different
How to Transfer Photos from iPhone to Computer (Mac & PC
To make a homemade battery, start by filling a non-metal cup almost all the way with canned soda. Next, cut a 3/4-inch-wide strip of aluminum from the side of the soda can and place it into the soda. Situate a copper strip purchased from a hardware store in the soda on the opposite side of the cup.
How to use Do Not Disturb mode in Android If you want to quickly enable Do Not Disturb mode, just swipe down from the top of your screen to open the notification shade, and select the Do Not
Note: Any links marked as being for the "Galaxy App Store" will only work when accessed on a Samsung Galaxy device. We also included a link to the Google Play Store version in each app's
How to Fix Google Now Bluetooth - Samsung Galaxy Note 2
[Tip] How to Restore Uninstall Confirmation Prompt Box in Windows - When you try to uninstall a software using Control Panel -> Programs and Features in Windows Vista and later, Windows shows you a dialog box to confirm your
How to Uninstall Norton Internet Security from Windows 7
The easiest antenna by far to make is the simple loop antenna. If you have one channel that's difficult to receive, you can tune it specifically for that channel. Get a 75ohm coax to 300ohm twinlead adapter, then a piece of solid copper wire such as from Romex. Look up the frequency of the channel you are trying to optimize for here. Then from:
Make a Digital TV Coat Hanger Antenna | Make:
To make sure of this the thief rings the door bell to make sure that nobody is home, if nobody answers then they will break in. A lot of people have dogs and alarm systems which will scare off the thieves, but this alarm system combines both. To make this devise you have to buy a speaker system that connects to your door bell.
Guard Dog Burglar Alarm!: 6 Steps (with Pictures)
Sn0wBreeze Jailbreak Tool Guide For iPhone, iPad, iPod Touch
One of the tough things about moving from Windows phone to Android is that you lose access to the useful and fun live tiles that made Microsoft's devices so wonderful. But Android does have an
Unlocking your Android phone's bootloader is the first step to rooting and flashing custom ROMs. And, contrary to popular belief, it's actually fully supported on many phones. Here's how to unlock your bootloader the official way.
List of Phones with Unlockable Bootloaders « Android
Samsung's Secure Folder With Samsung smartphones, you can store apps, pictures and other files in the Secure Folder. This is shielded from your main account by a separate code.
Make a file for Music in the screen for the MP4 player by clicking "Organize" on the toolbar. This will open a menu box. Click on "New Folder." An icon will appear in the main box with an empty title box next to it. Type "Music" in this box. Click it to name the folder. Leave the minimized screen for the MP4 player open on the desktop.
How to Hack an Old Cassette Tape into a Retro-Style MP3
0 comments:
Post a Comment